
Before you start
You need a project added in Sightdeck AI with a provider set up, and a Jira ticket to work from — the ticket key (like PROJ-123) and its URL are enough. The Git and webhook steps are optional; do the ones that fit your setup.
Steps
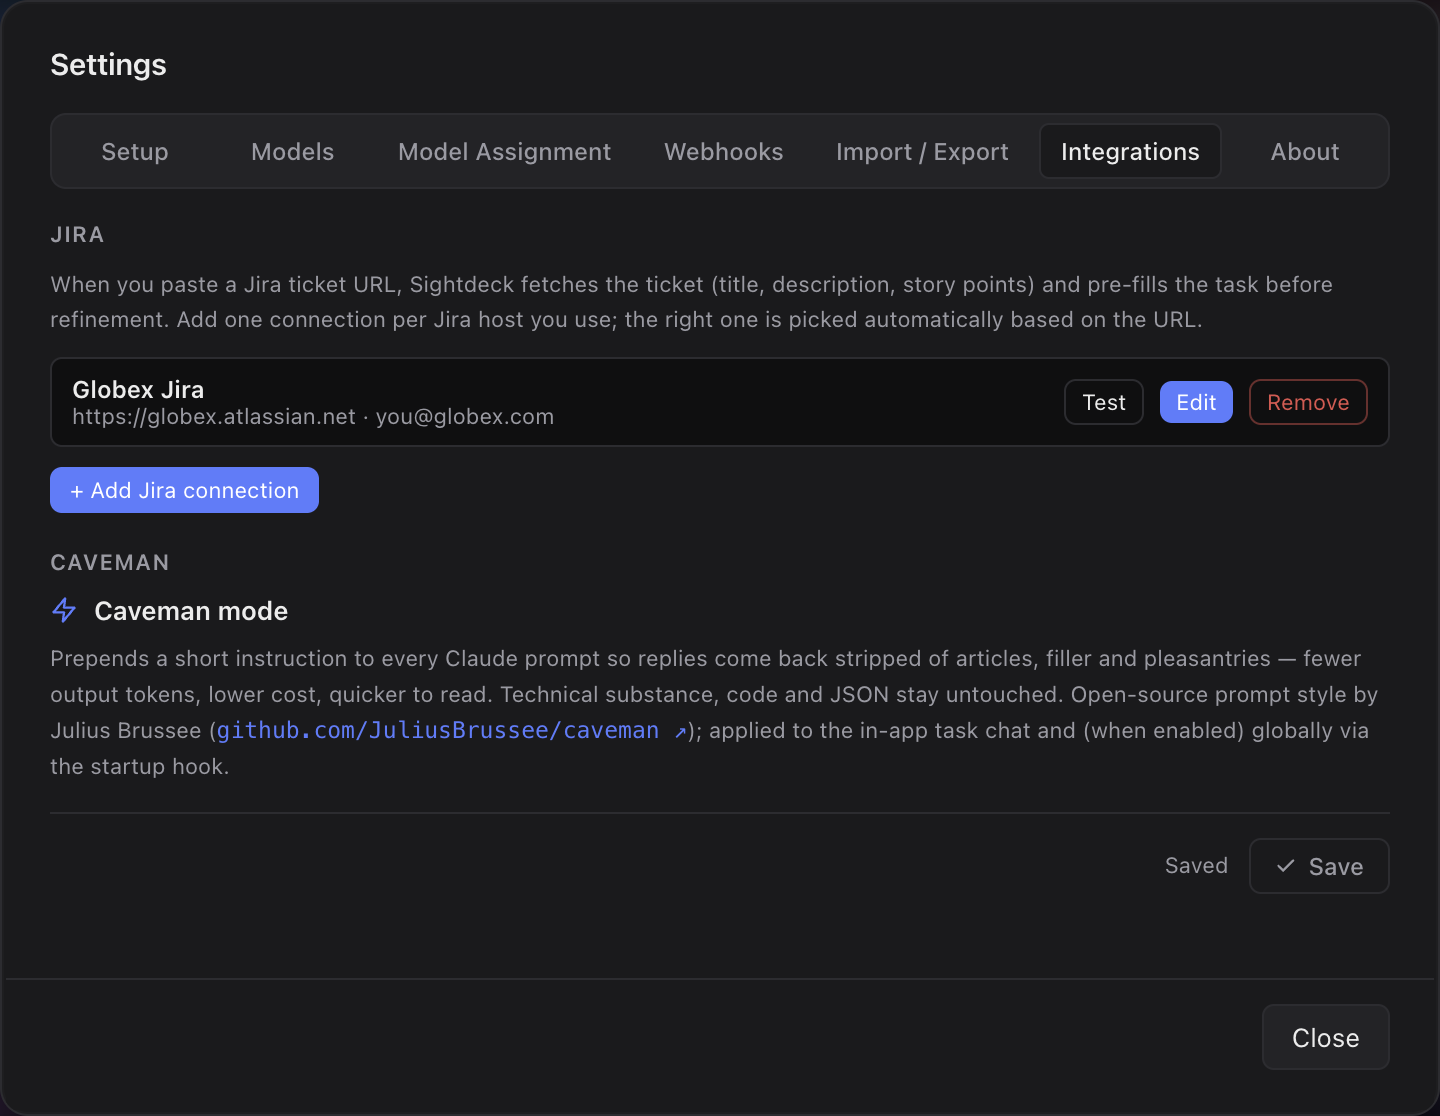
- Bring the ticket in. With Jira connected, the Jira import wizard lists your tickets with their type and turns the ones you pick into tasks. Without it, create the task from the ticket key and URL. Either way, Sightdeck AI stores the ticket key and URL on the task so the card links straight back to Jira. How the external reference is captured and shown is covered in Jira integration.
- Let it refine. The task refines like any other — title, summary, Type, estimate — while keeping the Jira reference attached. See Backlog refinement for what gets filled in.
- Run it on its own Git branch. Open Project Settings → Git and switch on Enable feature branches. From then on, every task you start in Sightdeck AI gets its own branch, named from your branch pattern and forked from your Main branch — isolated and easy to review before merging. When you start a task you can still pick another branch for that run. Worktrees are an advanced setup you can ignore for now. Both are covered in Git branches & worktrees.
- Report back on done. Wire a webhook so that when the task reaches
done, Sightdeck AI notifies your other tools — a Slack channel, a CI job, or a service that moves the Jira ticket. Set it up via Webhook on done.
What you get
- A Sightdeck AI task that links straight back to its Jira ticket, so you never lose the origin.
- Isolated, reviewable work on a dedicated branch instead of loose changes on your main line.
- An automatic signal back to your stack the moment the work is finished.
このページは役に立ちましたか?
ありがとうございます。記録しました。