
Before you start
You need Sightdeck AI with one provider already working, for example Claude Code — if not, run through Quick start first. A provider profile is one agent setup: which agent it is and which command starts it. It holds no model and no credentials — the models are picked per task, and every agent signs in on its own, exactly as it does in your terminal.
Steps
- Install and sign in to the Codex CLI. Install the Codex command-line tool as OpenAI describes it, then open a terminal and run
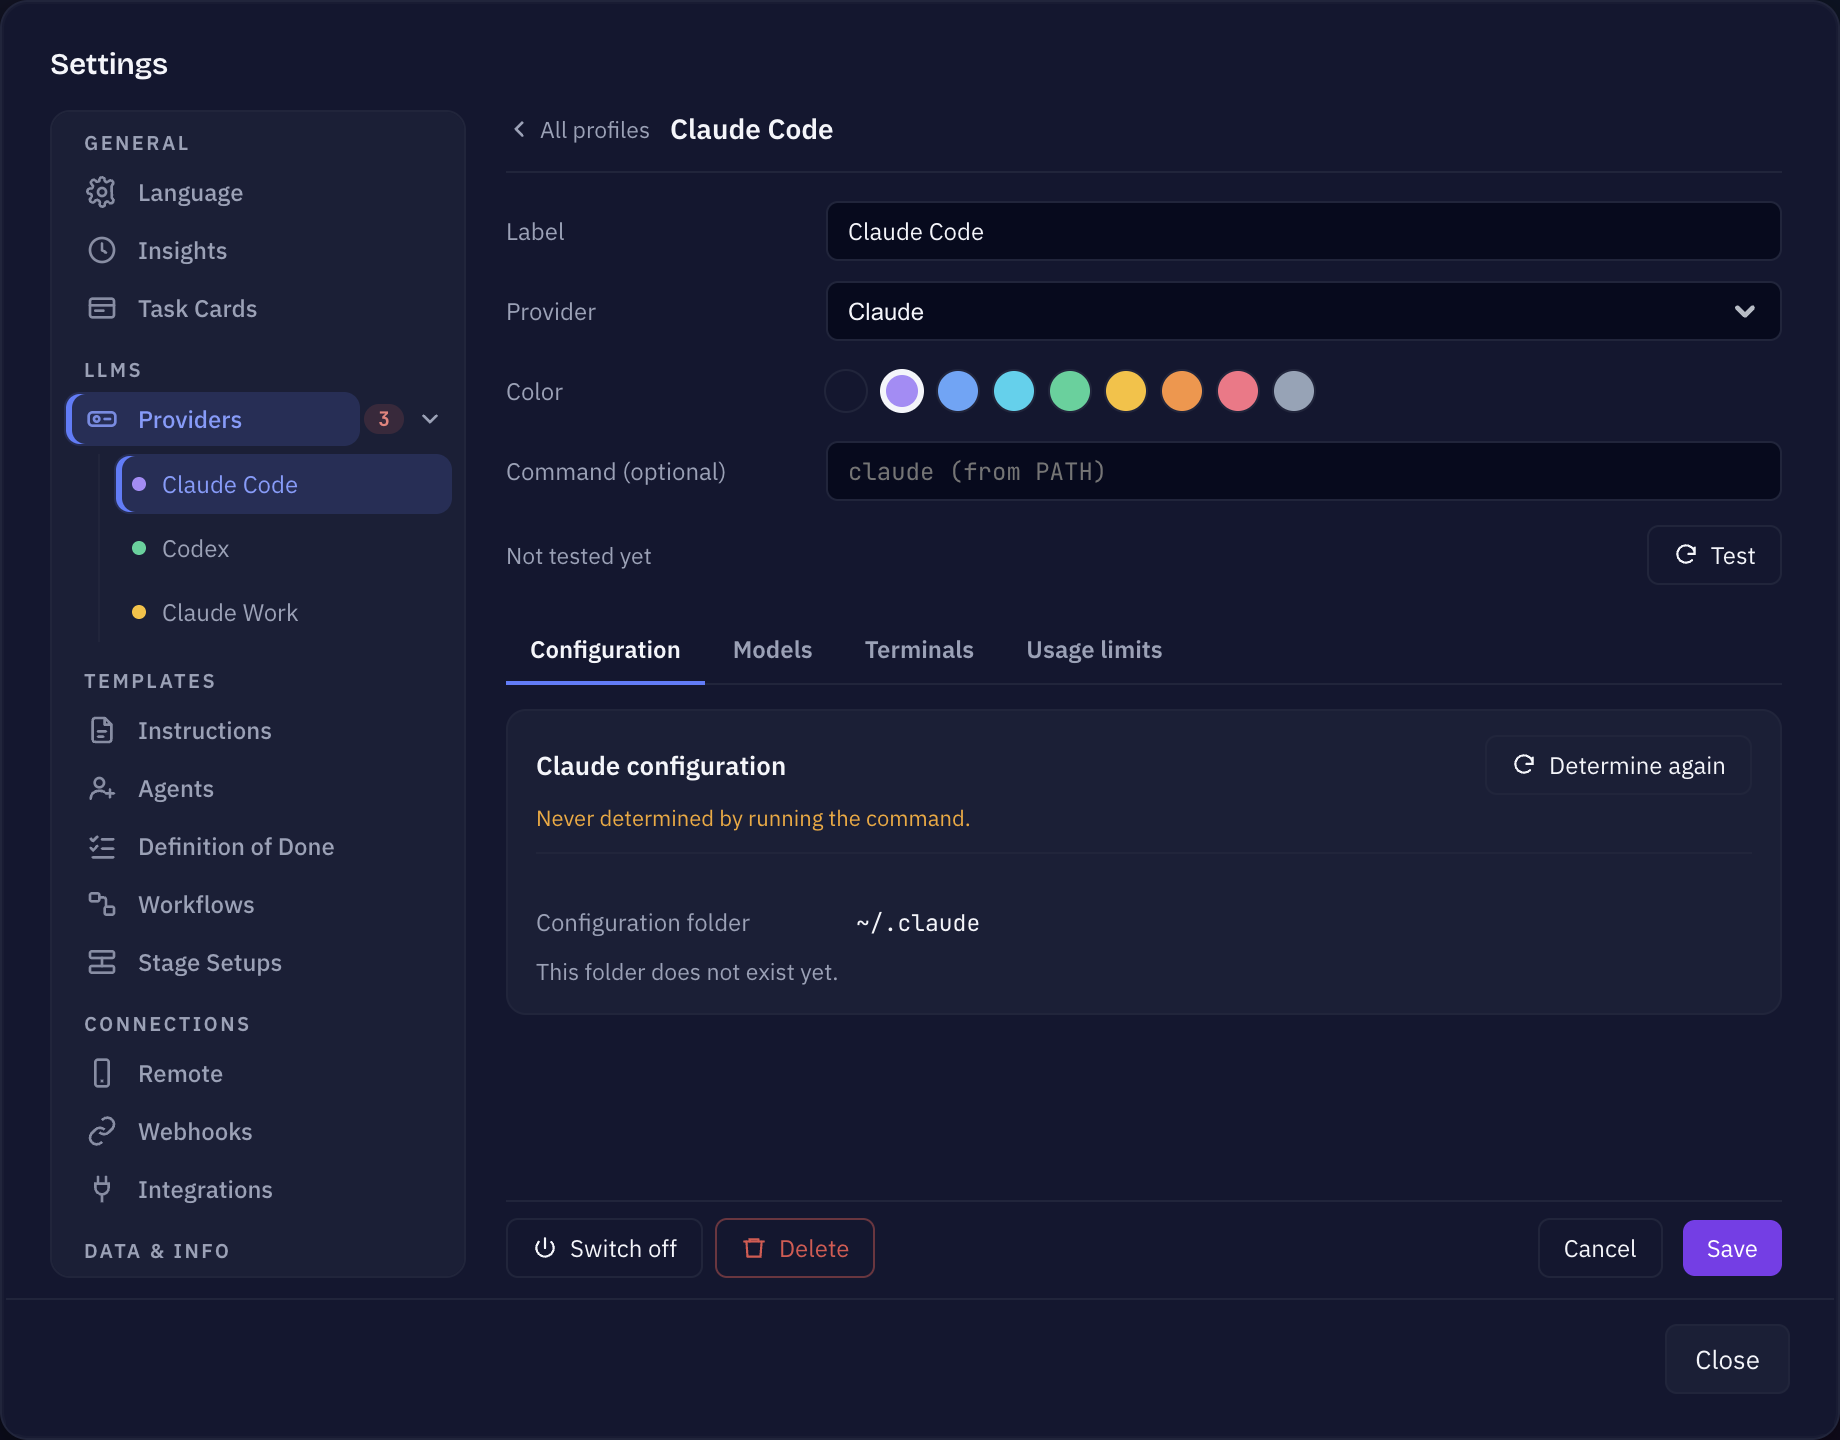
codex loginonce. Check thatcodexstarts in a new terminal window — Sightdeck AI starts the same command and uses the same sign-in. - Add a Codex profile. Open Settings → Providers and click Add profile. Fill in:
- Label — the name you'll see everywhere, e.g. Codex.
- Provider — pick Codex.
- Color — pick one that differs from your other profile, so you can tell them apart in the project list.
- Command (optional) — leave it empty to use
codexfrom your PATH. Fill it in only if you start Codex through your own command or script.
- Switch on Danger Full Access. Open the profile's Terminals tab, switch on Danger Full Access and save. Codex then reads, writes and runs anything in the project without asking first. This switch is not optional for Codex: it has no per-action approval prompt to fall back to, so with the switch off every run on this profile is refused.
- Install the Sightdeck skill for Codex. Open the Configuration tab. It shows the Configuration folder Codex reads (by default
~/.codex) and the Skill folder — Codex reads its skills from~/.agents/skills, whatever its configuration folder is. When it says The Sightdeck skill is not in this folder, click Install skill. Afterwards the tab reads Skill v… — up to date. When Sightdeck AI ships a newer skill, the same place offers Update skill. More on the skill in Skill setup. - Pick the models. Open the Models tab and switch on the Codex models you want to choose from in the model pickers. If a task picks no model, Codex uses its own default.
- Send a project or a single task to Codex. Two ways, depending on how much you want to move:
- A whole project: open Project Settings → General and set Default provider to your Codex profile. Everything in the project that does not pick its own provider now runs on Codex.
- One task: open the task, switch to the Setup tab and find Stages. Each stage has a provider select that starts on Stage: …; pick your Codex profile there. This applies to this task only — the rest of the project stays on its provider.
- Start a task and check it runs. Start the task as usual and open the Agents view — the session shows up there with its task, status and progress. In the task's Activity tab, Stages names the provider and model of the stage the task is in, so you can confirm it really runs on Codex. If it was refused instead, the most likely cause is the switch from step 3.
Where Codex behaves differently
- Refinement and the change log stay on Claude Code. Background refinement and the change log need structured answers that only the Claude Code adapter delivers. If you make Codex the project's default provider, open Project Settings → Stages and set the Pre-Stage provider — where refinement, planning and the change log run — to your Claude Code profile.
- No resume. A Codex session cannot be picked up again later the way Resume a task describes for Claude Code.
- No Claude plan mode. The Claude plan mode planning option is a Claude Code feature and is not available on a Codex profile.
- No usage limits tab. The 5-hour and weekly usage meters under Usage limits exist for Claude Code profiles only.
What you get
- Two agents side by side, each with its own color, command, models and skill.
- A per-project choice of which agent does the work, and a way to try the other one on a single task without touching the project.
- The groundwork for letting one provider build and another review — see Review every task on a second provider.
Did this page help?
Thanks — noted.