
Before you start
A workflow is the steps of one stage — see Review every task on a second provider if stages and workflows are new to you. Besides workflows, the Store has stage setups, agents, Definition of Done checklists, instruction templates, skills, slash commands, hooks, MCP servers, launch actions and task templates; this tutorial sticks to a workflow, but the flow is much the same for the others. Rating and commenting need a Sightdeck license.
Steps
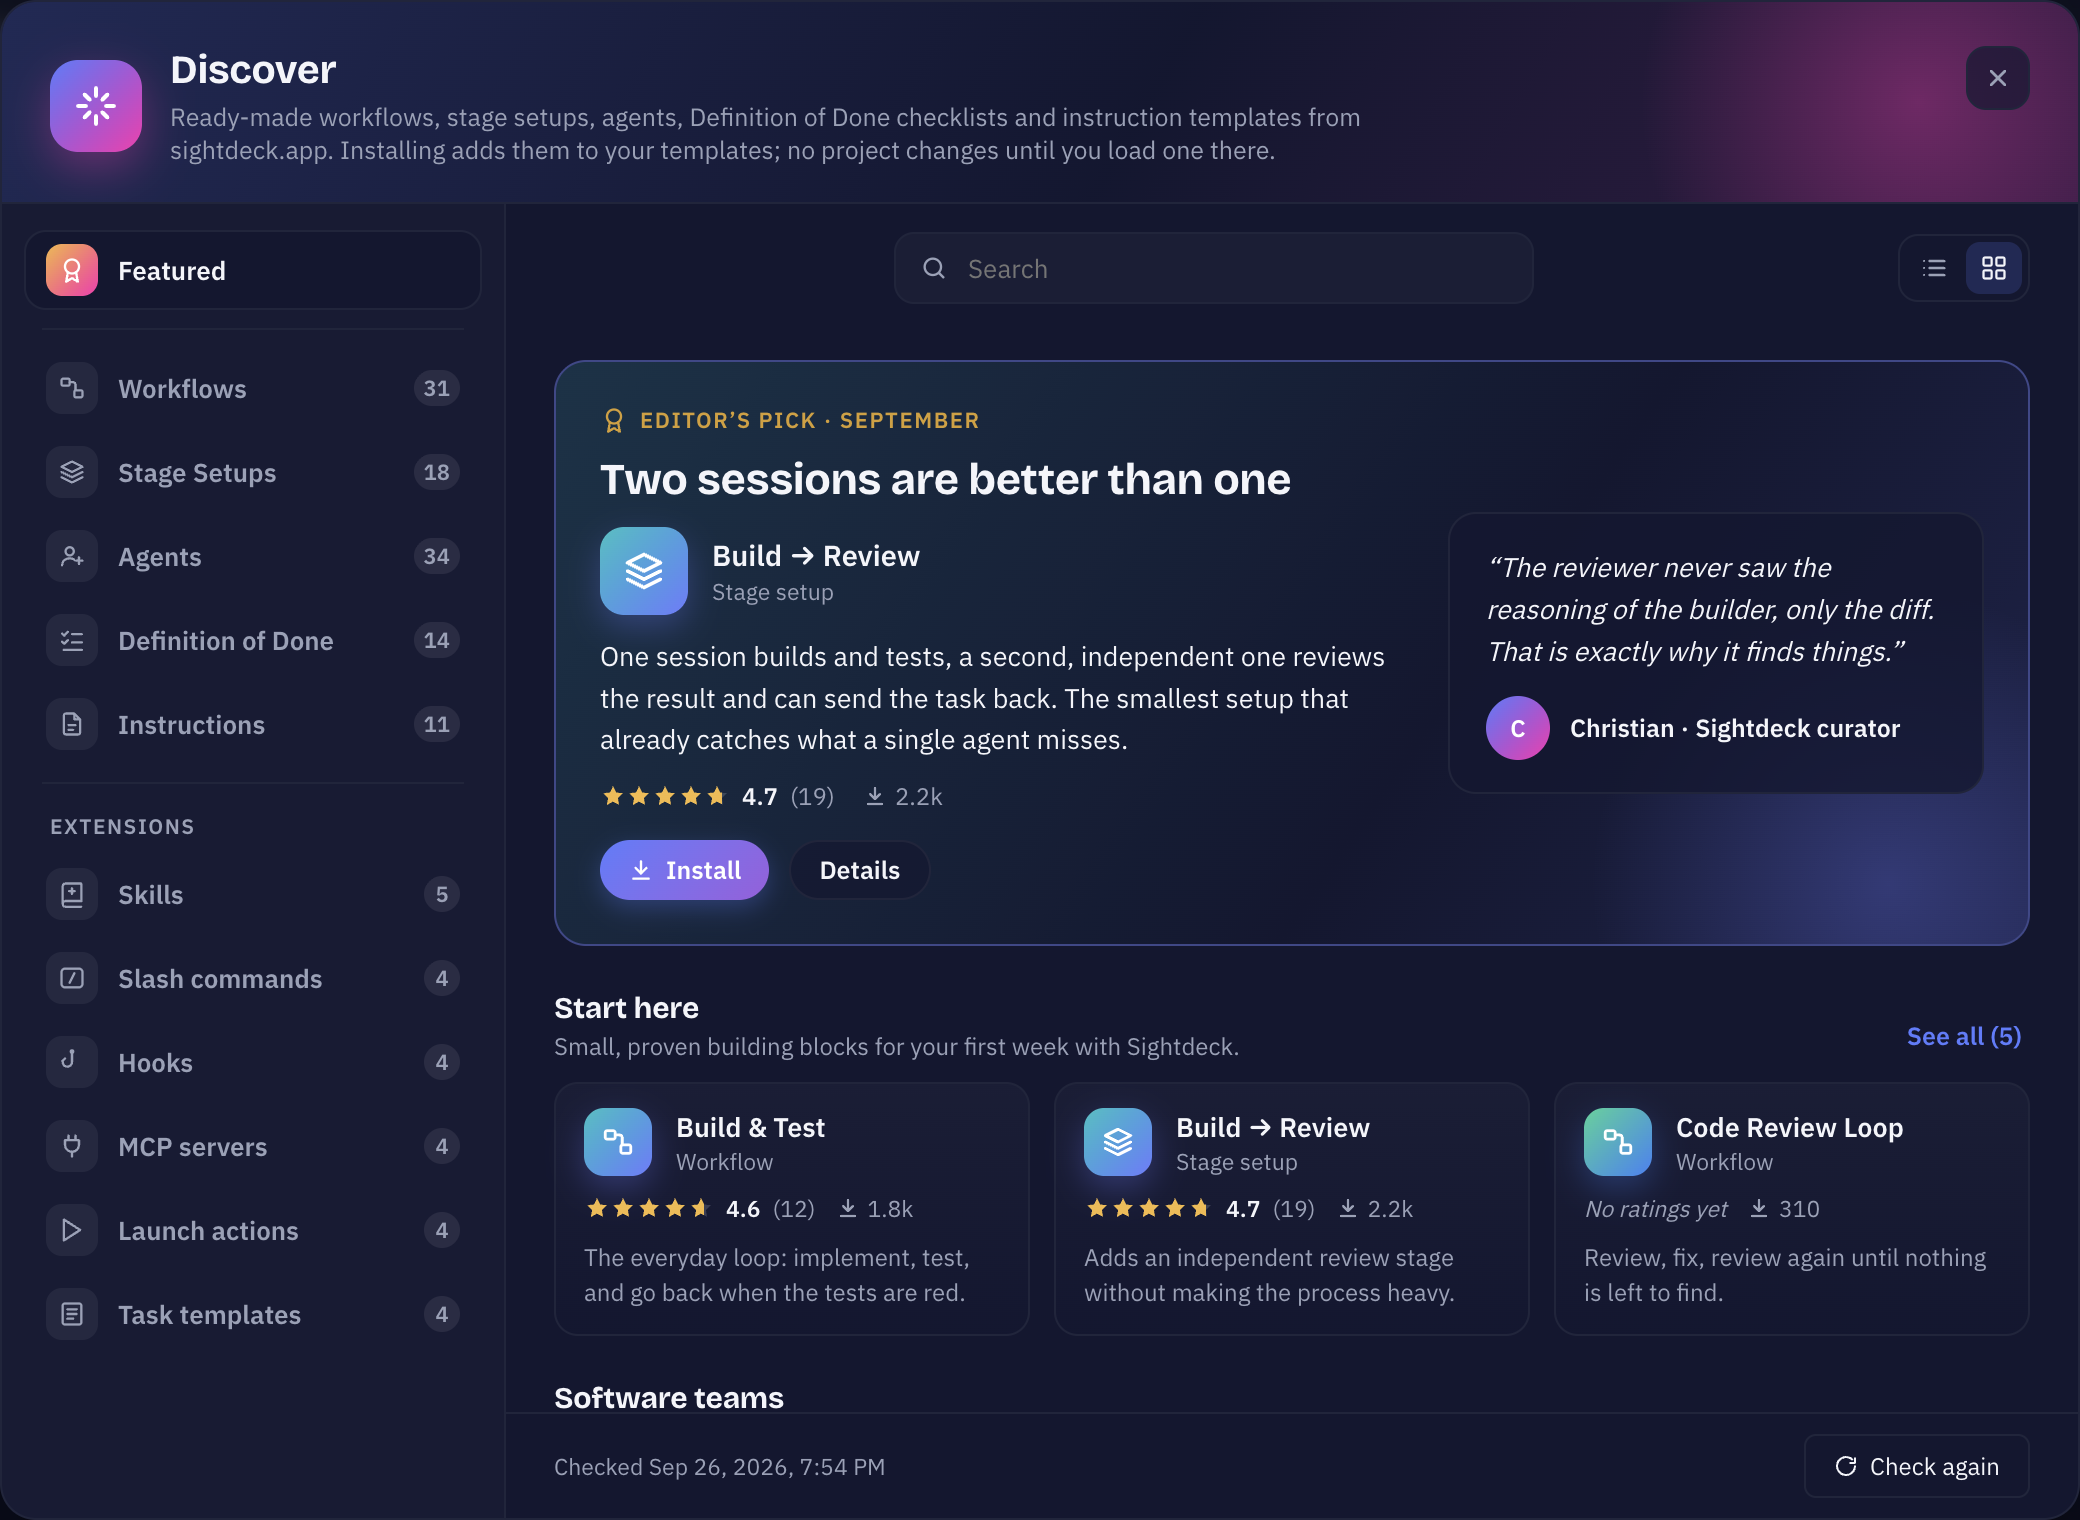
- Open the Store. Click the storefront button at the bottom of the sidebar (its tooltip says Discover). The Store opens on Featured, with editor's picks and New & rising. For workflows, open the Workflows tab and narrow it down: pick a category such as Software or Testing, use Search, and sort by Most installed, Newest or Top rated. 4+ only hides everything rated below four stars.
- Read the details and ratings. Open an entry. You see its diagram, its Steps with what each one does, its author and how many installs it has. Scroll to Ratings & reviews: the average (… out of 5 from … ratings) and What people say. Ratings only come from people who used the entry in a project; comments can come from anyone with a license, so weigh them accordingly. Some entries also show the model they work best with.
- Try it in a dry run. Entries that come with a sample task have a Dry run section. Click Dry run: Sightdeck AI tells you how many stages it will run, with which model and an estimated cost. Click Start dry run. It runs on the sample task in a throwaway project, read-only: the model may only read files and says what each step would do. Nothing is changed, and the folder is deleted afterwards. It runs on Claude Code in its read-only plan mode when you have a Claude provider, otherwise on Codex in its read-only sandbox (Codex reports no cost).
- Install it. Click Install. The workflow is added to your templates — you find it under Settings → Templates → Workflows, marked as coming from the Store. No project changes until you load it there.
- Use it in a project. Open Project Settings → Stages and switch to the Workflows tab. Click From template… and pick the workflow — the ones from the Store carry a Store badge. The project gets its own copy, and the editor opens. A template has no agents; drag your project's agents onto the steps if you want them, then save. Back on the Stages tab, choose the new workflow in the stage's Workflow select. From now on every task that enters that stage walks its steps.
- Rate it. Once you have used the workflow in a project, open its entry in the Store again, give it stars under Your rating, add a title and a few words if you like, and click Send. Sending again replaces your rating.
- Update it later. When the author publishes a new version, the Store shows a count of available updates and the entry says Update available v… → v…; your templates list shows an Update pill next to it.
- Click What changed to see the differences line by line.
- Click Update template and confirm. Your template is replaced with the new version, including changes you made to it. Projects that already use it stay as they are.
- To bring the change into those projects, click Apply to projects, pick the projects and click Create … merge tasks. Sightdeck AI creates one task per project that merges the change into that project's own copy, keeping your local edits. The task runs like any other.
What you get
- A proven workflow in a few clicks, chosen by ratings from people who really used it.
- A risk-free preview before anything touches your project.
- Updates that arrive as reviewable tasks instead of silently rewriting your projects.
Cette page vous a-t-elle aidé ?
Merci — c'est noté.