
What you need
- A Mac running macOS (Apple Silicon or Intel). The desktop app is macOS-only for now.
- Claude Code installed and logged in. Sightdeck AI sits on top of it — it does not replace the CLI.
- A Sightdeck AI license (yearly subscription, €49). A free trial runs without a license; activation unlocks the full feature set on up to two machines.
Install the desktop app
- Open the download section on the homepage and pick the build for your Mac (Apple Silicon or Intel).
- Open the
.dmgand drag Sightdeck AI into Applications. - Launch it. The first screen is Setup.
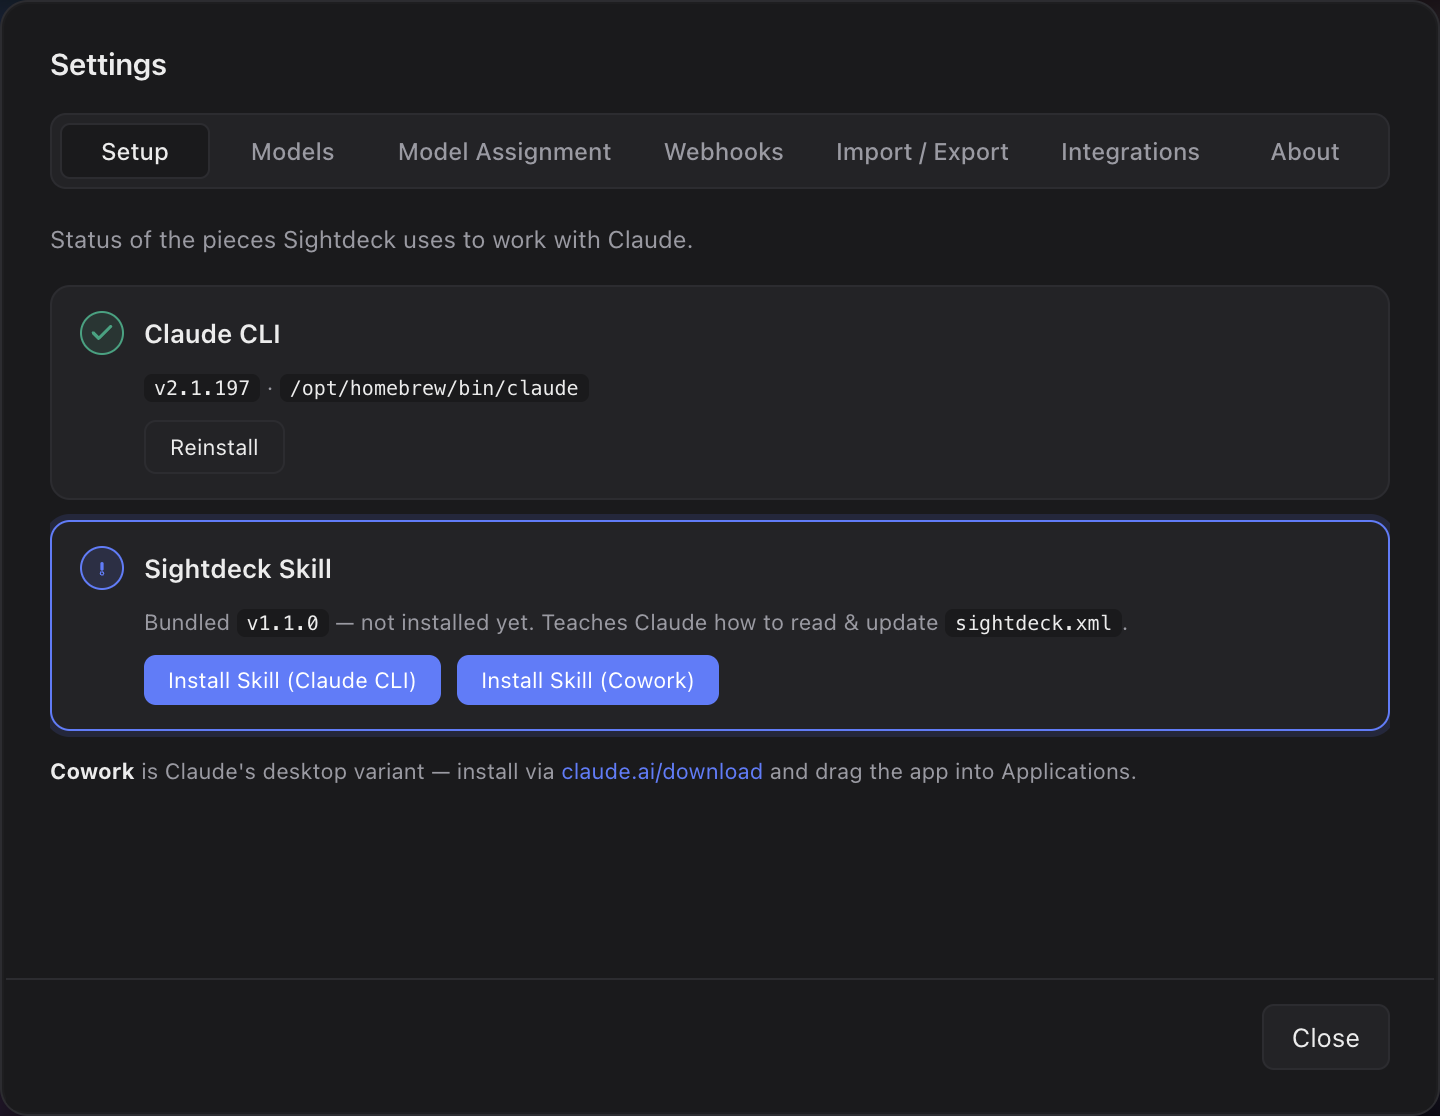
Install the skill
The skill is what connects Claude to the app. It keeps every task's status in sync, so the app always shows the real state of what Claude is doing.
- In Setup → Install Skill, click Install. Claude Code picks the skill up automatically.
- From now on it works in every project, with no extra setup per project.
- To check it took: open a project and ask Claude to do anything — the task shows up on the board and its status follows along live.
Activate your license
- In Setup → License, paste the license code you received via email.
- The app verifies the code once online and stores the activation locally. No further outbound connection is required.
- The same license activates one more machine — useful for a laptop / desktop pair. Manage the machines under the license settings in the bottom left corner.
That's the install done. Next, add your first project and run a task.