Before you begin
You need two things in place before Sightdeck AI can do anything useful:
- Claude Code installed and logged in on your Mac. Sightdeck AI coordinates Claude — it does not include it. You do not need to set anything up by hand: once the app is open, the Setup screen confirms Claude Code is detected.
- A Mac running macOS, Apple Silicon or Intel. (The desktop app is macOS-only for now.)
Step 1 — Install the desktop app
Download the app from the download section on the homepage. Pick the build that matches your Mac (Apple Silicon or Intel), open the .dmg, and drag Sightdeck AI into your Applications folder.
- Launch Sightdeck AI from Applications. The first screen is Setup with three numbered steps.
- macOS may ask permission to open a downloaded app — click Open in the dialog.
Step 2 — Install the skill
The Sightdeck AI skill is the piece that connects Claude to the app. It keeps every task's status in sync so you always see the real state of what Claude is doing.
- On the Setup screen, click Install next to "Install Skill".
- The skill installs into your Claude setup automatically. The step turns green.
- From this point on, every Claude session in a Sightdeck AI project runs through the skill — no further setup per project needed.
Step 3 — Activate your license
A free trial runs without a license. To unlock the full feature set, paste your license key into the Setup screen.
- On the Setup screen, click the License step.
- Paste the license key you received by email after purchase.
- The app verifies it once online. The step turns green and the activation is stored locally — no repeated connection needed.
The same license activates on up to two machines. If you have not bought a license yet, the pricing section has the details.
Step 4 — Add a project and run your first task
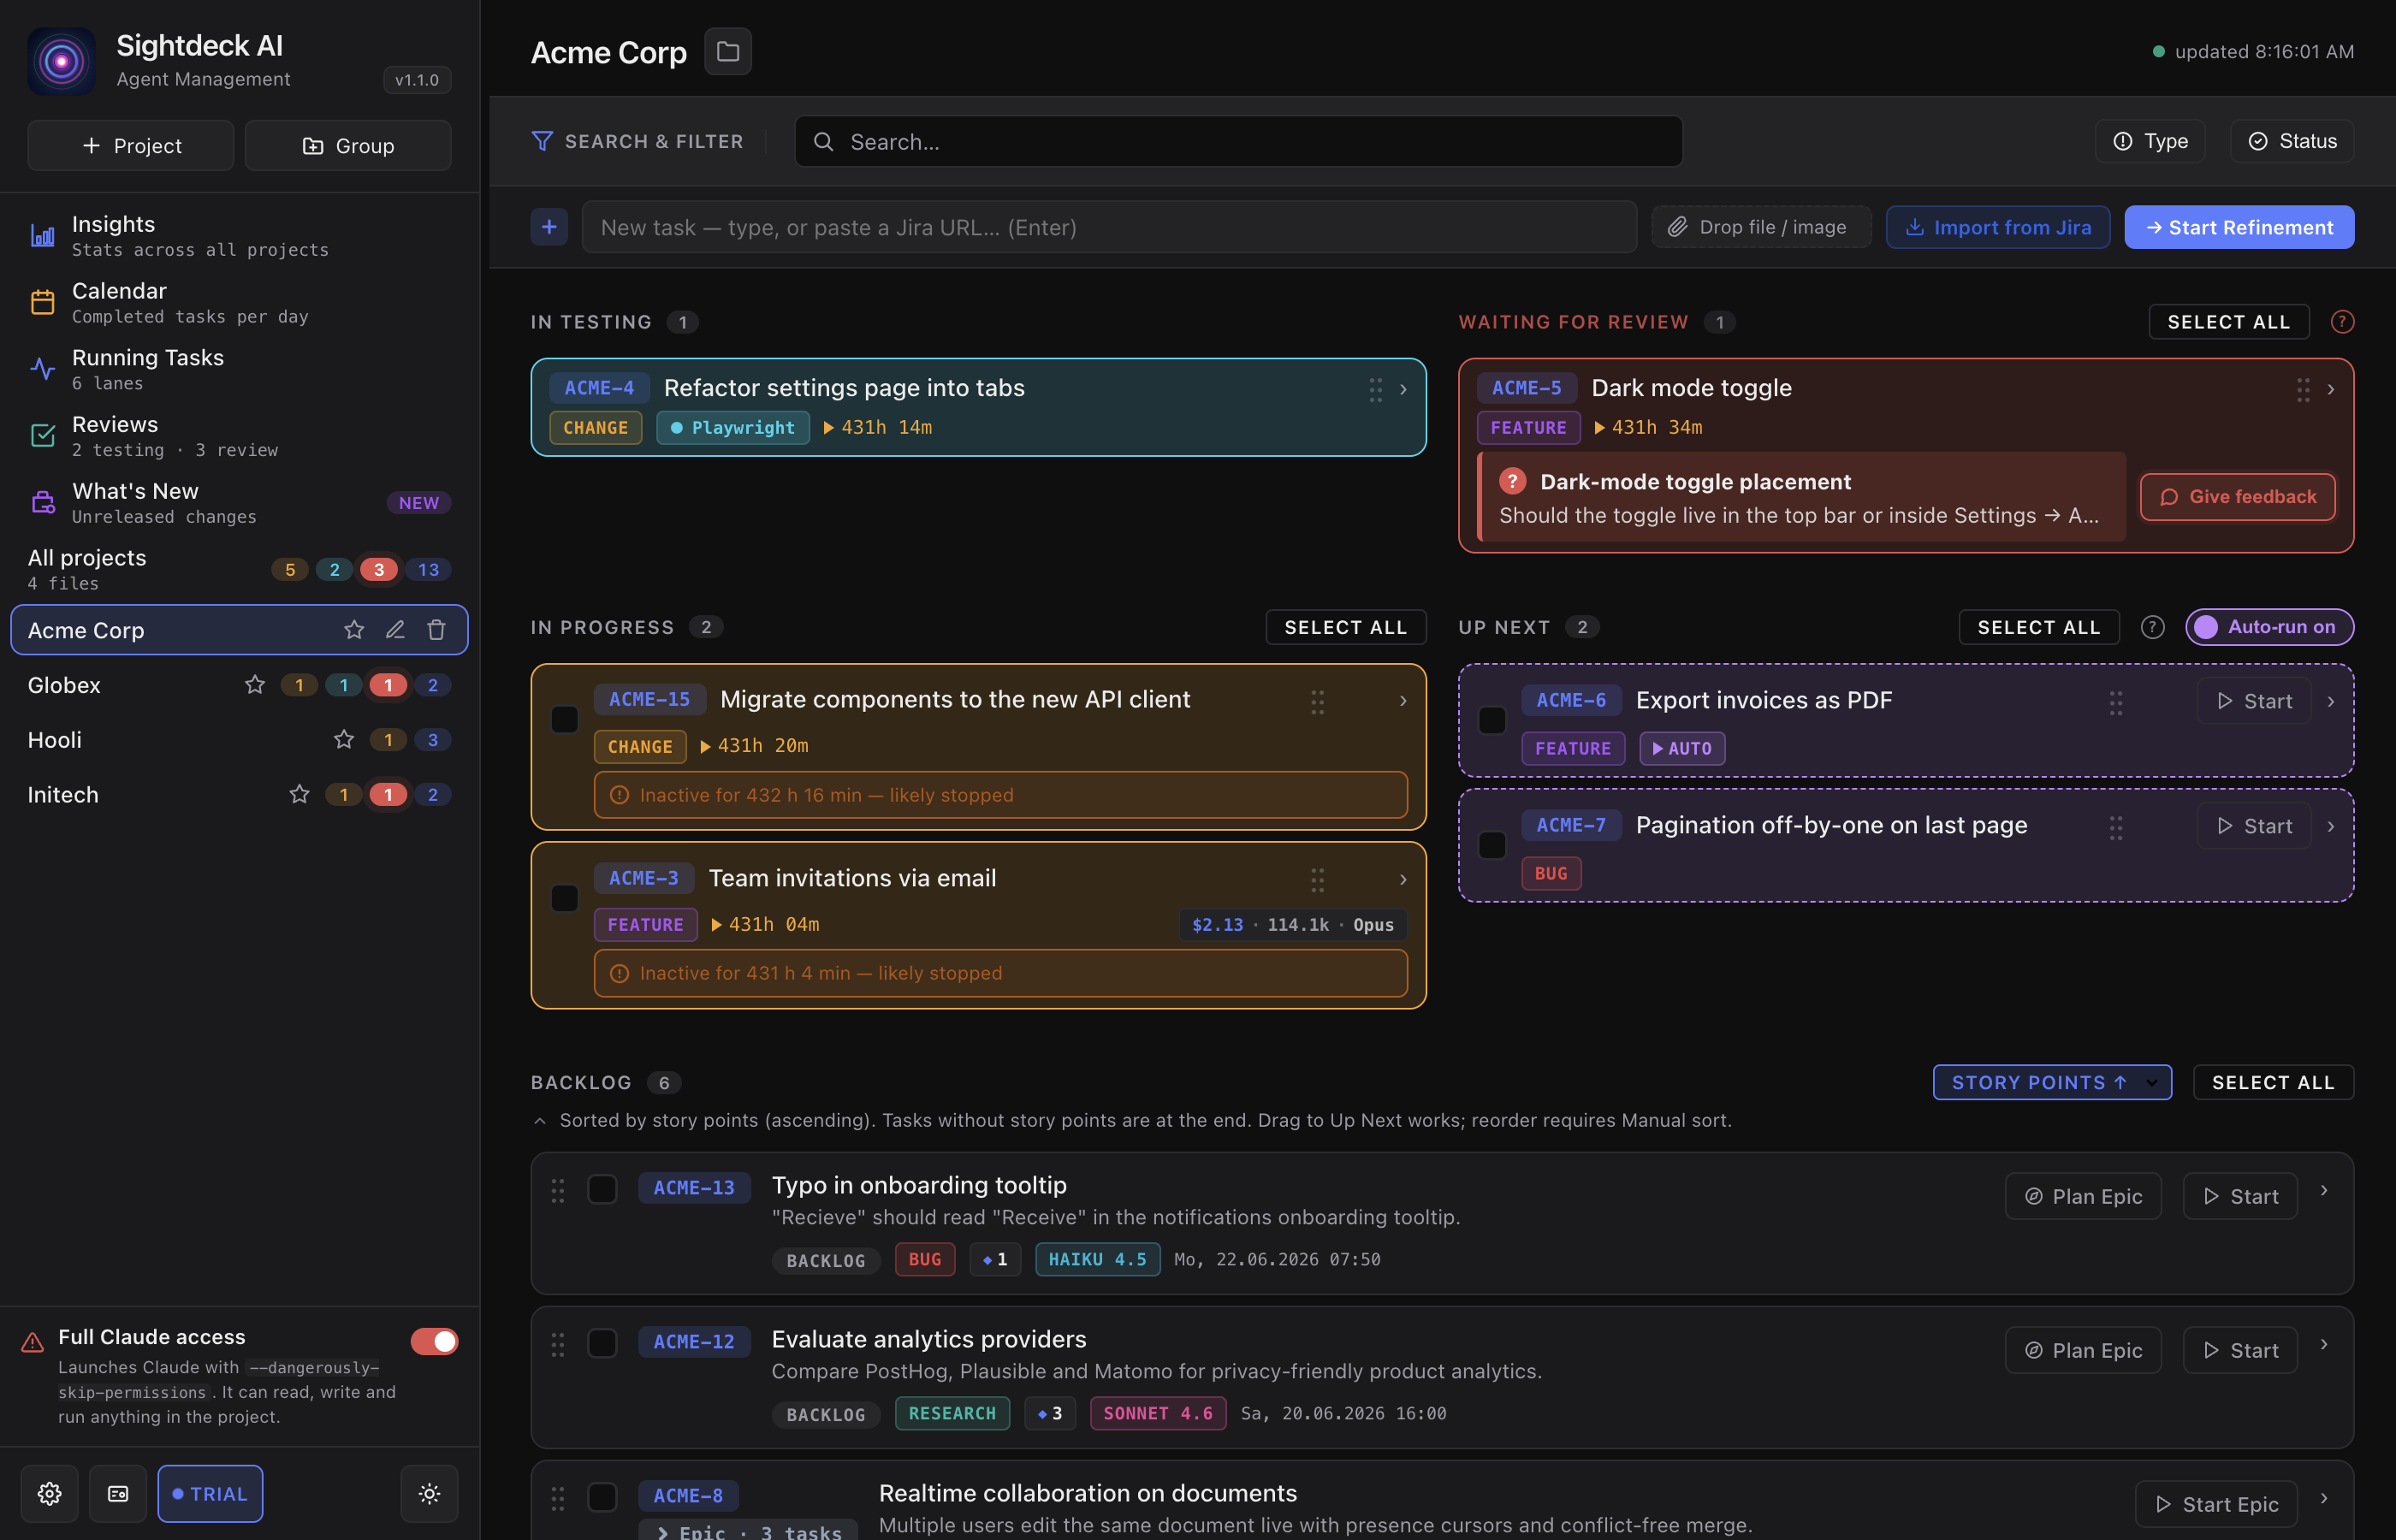
A project in Sightdeck AI is the folder on your Mac where your code lives. Point Sightdeck AI at that folder, drop an idea into the backlog, and start it.
- Click Add Project in the sidebar — or drop a project folder onto the window.
- Set a short prefix — a label added to the front of every task number, like
SD-1orMY-42, so you can tell which project a task belongs to. The app suggests one from the folder name. - At the top of the backlog, click the Quick-Add field and type a task — one sentence is enough. Hit Enter.
- Sightdeck AI refines the task in the background: it adds a title, summary, kind, time estimate and story points. The card shows a Refining… pill while this runs.
- Once the pill clears, hover the task and click Start. A new Terminal window opens running Claude in your project folder, picks up the task, and the status flips to
activein the app. - When Claude finishes, the task moves to
donein green.
That is the full loop. For a deeper look at what each status means and how to handle parallel tasks, read Status lifecycle next.